Thursday, September 15, 2011

New Chicken Door

A few weeks ago another stall door fell off. This time it ripped the casing right out of the barn.

Although we love our barn, the builders didn't do a very good job with the doors. The heavy dutch doors were hung on the wrong size hinges as well as not being attached to a sturdy enough door frame.

The first 3 doors didn't last more than 2 years. The ones on the north side of the barn haven't been used as much (especially by horses and other large animals) so they managed to last about 16 years.

Hubby couldn't find the door he wanted to replace the old one with, so we all decided that a steel insulated door would work just as well, or better, than what was there before.

You can see Hubby had to make the doorway smaller to put in the metal door. That's okay--this door leads right out into the poultry pen so there is no reason to have a big horse door here. 
All we needed was a working door that will keep out the north wind during the winter, and this one does a wonderful job!

Tuesday, September 13, 2011

Burn Barrel

If you haven't ever seen a burn barrel, here is a photo of ours.

It is a metal drum with no top or bottom. It sits on about 6 firebricks. Really, it is just a chimney sitting on a few firebricks!

This one has quite a nice fire going! 
One of the great things about a burn barrel is that it burns up wood and brush quickly with very little smoke or flying cinders.

It's a good idea to be very, very careful around this much heat and fire. The photo doesn't show the hose that is close by just in case there is a problem. You can see the shovel handle in front of the barrel so that if there is a cinder that happens to start something we can either smother it with dirt or put it out with water from the hose.

We love having a burn barrel around to get rid of all the little bits of branches and twigs that are lying around. We use ours at least twice every year!

Monday, September 12, 2011

Cleaning the Barn

On Saturday Hubby and I cleaned out the barn. Vet2Be was at the state fair showing dairy goats for his 4-H leader so he wasn't here to help.

He'll be helping over the next few days, though. His job is to burn all the twigs and sticks that are lying around the yard.

Barns get stacked with stuff! 

All the wheat was moved to the top of the tack room, the pallets were taken out and cleaned, Hubby tilled and smoothed the area that will hold 6 tons of hay (hopefully!)
Vet2Be and Hubby above the tack room reinforcing the ceiling so we could store the wheat up high. There is no more room for food storage in the house. Even though the barn isn't the best place for storing wheat, the wheat will be good enough to keep us alive if dire days hit our family.
All the old hay was cleaned out from the pallets. I think it's been 5 years since we did that. Not much mold, but enough that we were glad we took the time to clean them.

The chickens are doing their job! They are spreading the old hay around the dry lot so that Hubby can till it in and eventually plant grass here!

Just a few more hens working almost as hard as we did!
There is still more to do! Vet2Be will be burning the piles of sticks left from the 6 trees that were taken down this year (you can see a small pile behind the chickens in the photo above). We are getting hay in about 1 1/2 weeks--6 tons--and that all has to be stacked. The garden is still producing, so there is still some preserving to do...

And I really, really want to try my new cheese maker!

Sunday, September 11, 2011

Pepper Jelly

Instead of making cheese with the new Cheese Maker, we did a bunch of other things getting ready for winter... including making pepper jelly.

Our garden has never produced so well! Not that it has been a spectacular producer this year, but our plant markers DID NOT turn into plant headstones this year! I didn't even kill the zucchini!

I can't remember a year when we ever got the pepper plants to grow, let along produce any peppers. The ones that we are getting this year a beautiful! I'll be dehydrating some, too, since we are getting so many.

Pepper Jelly is a tradition for us at Thanksgiving. One year I didn't have any left in storage and I had to go to the store to BUY peppers to make it!

Yay for Pepper Jelly!
This stuff is so easy to make! We love it over cream cheese and served with crackers.

I've also heard that it makes a wonderful glaze on barbecued fish or ribs. That is on our list of things to try.

Pepper Jelly

  • 2 1/2 cups finely chopped red bell peppers
  • 1 1/4 cups finely chopped green bell peppers
  • 1/4 cup chopped jalapeno peppers
  • 1 cup apple cider vinegar
  • 1 (1.75 ounce) package of powdered pectin
  • 5 cups white sugar

Sterilize six 8-ounce canning jars with lids. (This year I used Tattler re-usable canning lids found here, I bought mine from the local feed store. I'll post if I have any trouble with them.)

Place red bell peppers, green bell peppers, and jalapeno peppers in a large saucepan over hight heat. Mix in vinegar and fruit pectin. Stir constantly and bring to a full rolling boil. Quickly stir in sugar. Return to full rolling boil, and boil exactly 4 minutes, stirring constantly.

Remove from heat and skim foam.

Quickly ladle jelly into sterile jars, filling to within 1/2 inch of the tops. Cover with the lids and screw on bands.

Place jars in rack and slowly lower jars into canner. The water should cover the jars completely and should be hot but not boiling.

Bring water to a boil and process for 15 minutes.

We process 10 minutes longer than at sea level because we are about 5,000 feet above sea level and water boils at a lower temperature here.

You can find a good altitude adjustment chart here at Food.com.

Wednesday, September 7, 2011

Kindle Cover

Instead of making cheese the last few days, I've been making Kindle covers. Here's the latest one.


I've got one more to make tomorrow. Then I'll be making cheese with the new cheese maker.

Friday, September 2, 2011

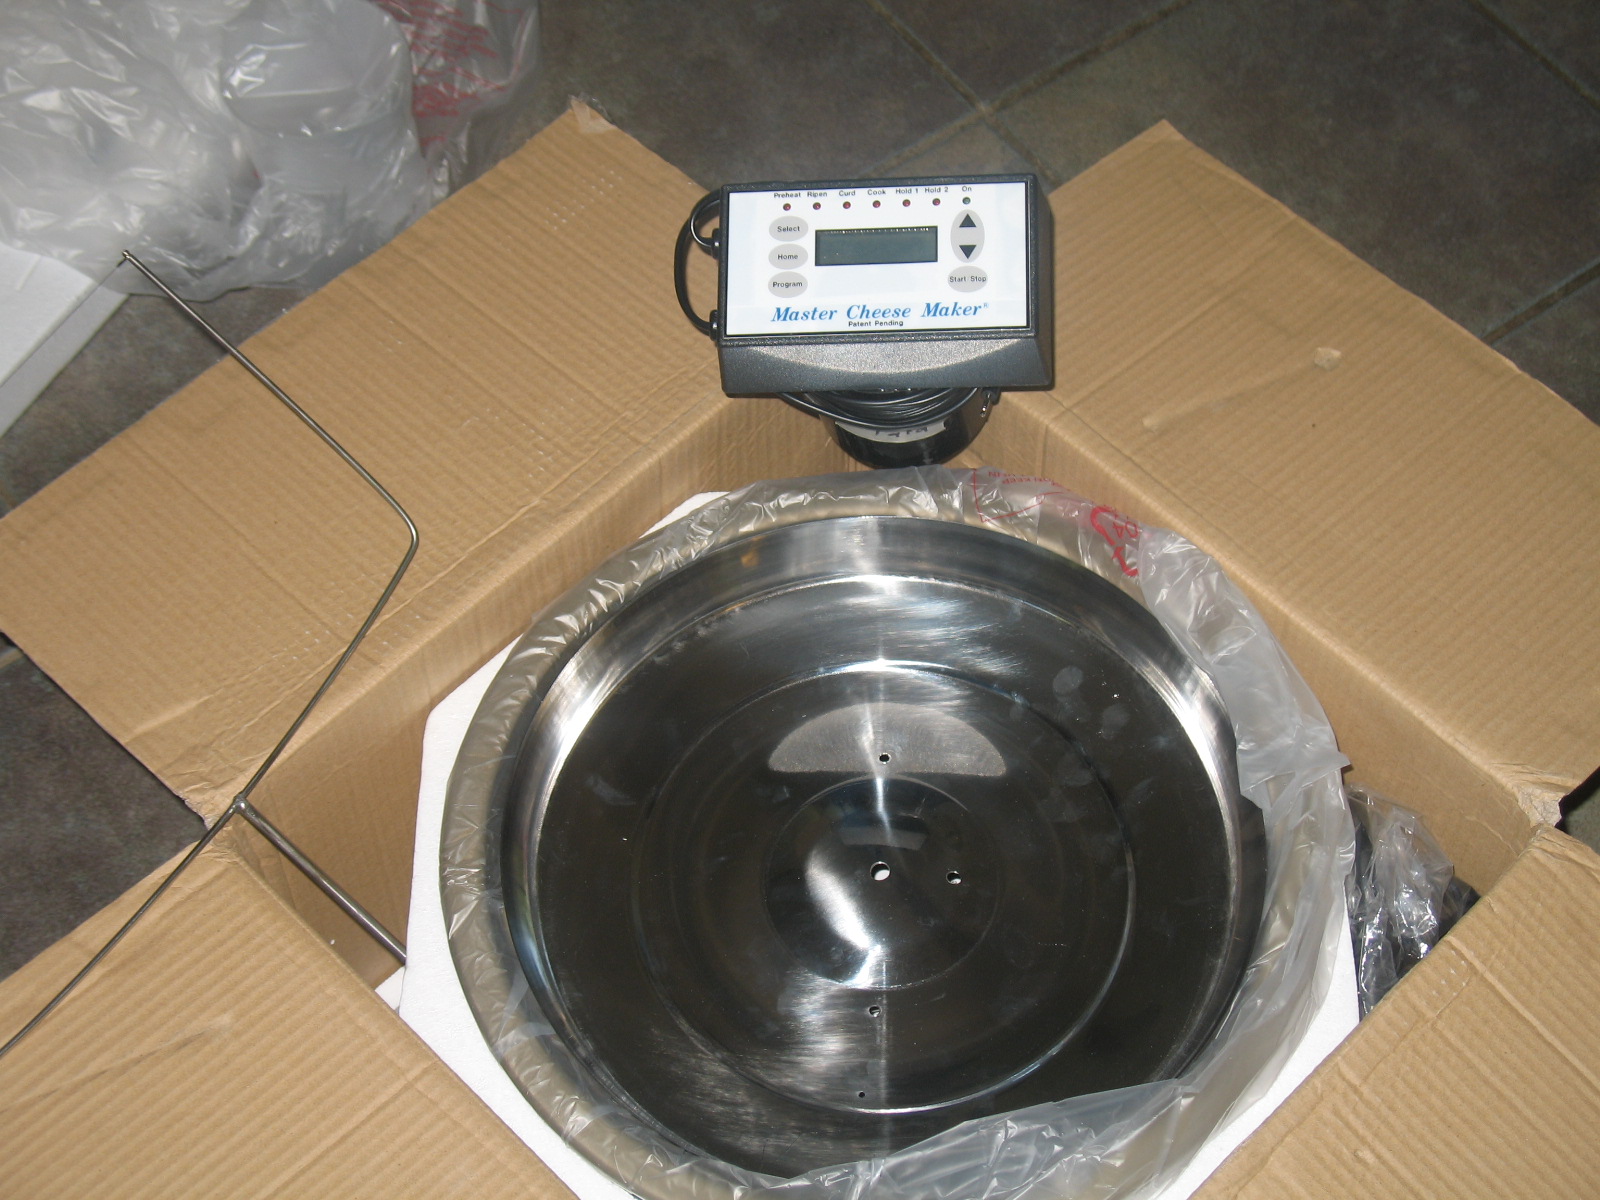
Cheese Maker!

I got a box in the mail on Wednesday (all smiles here!)

Nope! It's not a rice cooker!
It's got a great curd cutter sitting on top!
It's my new semi-automatic Master Cheese Maker!
The computer controls the stirring rod and the temperature! 
No, it wasn't cheap. It was $422.44 including shipping.

But that is much cheaper than changing my flat stove (which Hubby wanted) over to a gas stove (which is what I wanted) because we would have to extend the gas line into the kitchen.

Smooth surface stoves are not very good at temperature control, they are great for adding extra counter space and for cleaning. But making cheese requires very careful control over temperature, both how fast the curd gets to the correct temperature and keeping the curd at the right temperature for the correct amount of time.

This machine is supposed to take care of both!

There is a Yahoo group called CheeseMachine where owners of the Master Cheese Making Machine talk about making cheese and the Cheese Maker machine.

I haven't had a chance to test it yet. Things have been busy around here (aren't they always when you live on a hobby farm!) This weekend is already full, too.

I'm planning on making cheese on Monday..... I'll be posting my results! I'm sure the first few batches will go to the chickens as I get to know the machine, but I'm looking forward to being able to make more batches because someone else will be doing the stirring and heating!


Thursday, September 1, 2011

Custom Soap

One of my friends wanted some custom soap for her mother's 70th birthday party and asked if I would help.

Wow! I learned alot this time around! This is the first time I've made custom soap.

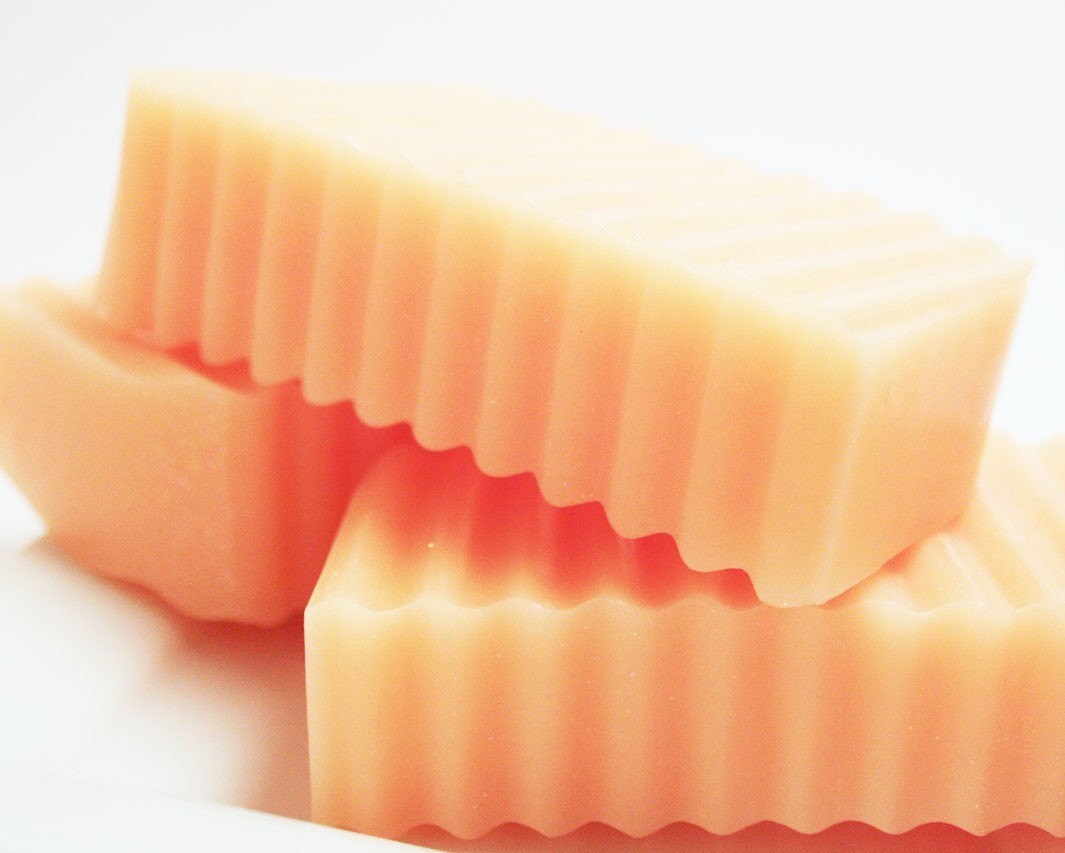
She wanted the soap to look like this:
Found Here
She wanted the color to be pinkish/rose like these candles:


She also wanted goat's milk soap, but it was impossible to get the color she wanted with goat's milk. The color was always brown.

This is the mold I wanted:
Found here at Soap Making Resource
but since I was only going to charge her for materials to make the soap I don't want to invest $32 in a mold.

Instead I made one out of card board, which worked out okay. Then Hubby found pencil boxes at Hobby Lobby that were better than the cardboard molds. They were only $4 each, so we have two. If you want to see what they look like, you can find them here. The brand is Really Useful Boxes and they are smooth on the inside and very strong. I lined mine with parchment paper so that the soap would slide out easily.

But the Really Useful Boxes don't have the really nifty miter cut so that I can cut the soap straight.

Instead I used the old cardboard soap mold end as a guide.
I made a mark about 1" past the end of the box and lined up the end of the soap with the mark. Then I kept the cutter lined up with the edge of the box so that the soap was even from top to bottom.
The mark 1" from the side of the mold is on the flap that lays on the counter. The 3" x 5" card at the bottom made it easy to slide the soap along the mold.
Soap that is almost exactly the same height!
Although the soap doesn't look uniform in color in this photo, after a few days the color has evened out and I think she will be very happy with the final product.

It took me about 12 pounds of 'practice soap' before I was able to get the right color. Sheesh! That's why I only do this for friends and I don't do it for a job.

I had to throw away 4 lbs of soap that I had used titanium dioxide in. For some reason the titanium dioxide didn't allow the lye to combine with the fats, so the soap would have been dangerous to use.

The dye I used was a powdered dye, which I have never used before. I mixed it with water and then used a syringe to get the same amount into each of the 4 batches of soap so the color would be as close as possible between all the batches.

The rest of the soap will be either used at home or given away. Most of it is unscented, which means that any of my kids will use it because they don't care what the color is (and there are ranges of color for tan to brown to bright orange!)