Showing posts with label clabbered milk. Show all posts

Saturday, October 2, 2010

Quark Cheesecake!

I can't remember how long ago someone posted on Home Cheesemaking (yahoo group) that they made a 'killer cheesecake' with clabbered milk. I've been searching around for a recipe because it sounded so good.

I ran across some websites that compared clabbered milk with quark. Clabbered milk is raw milk set out at 80˚ F few days until it separates, quark is buttermilk left in a warm oven (I've read 90˚ as well as 150˚) until it thickens.

eHow has instructions on how to make quark. So does a site called Group Recipes

I found a german cheesecake recipe on a site called Diana's Desserts. If you google 'quark cheesecake' you will come up with a good sized list of cheesecake recipes using quark. I picked the one on Diana's Desserts because it uses cornstarch instead of flour. I can't have flour and I really want a taste of this cheesecake!

Although I used the recipe on Diana's Desserts, I changed it a bit because I got better results with the blender than with the mixer.

It often takes 4 days from the time I start making the Quark/clabbered milk to the time we can eat the cheesecake! Just a warning in case you thought you could whip this up for dinner tonight. It takes approximately 1 gallon of milk to make enough Quark/clabbered milk for one cheesecake.

The finished Kasekuchen. I should have put it on a pretty plate for the photo, but this one is going to German Class with Vet2Be.
Kasekuchen – German Cheesecake
Filling
3 eggs
3/4 cup granulated sugar
2 teaspoons vanilla
100 grams butter, very soft and at room temperature (not melted in the microwave)
6 ounces heavy cream
17 ounces quark or clabbered milk
1 1/2 Tablespoons cornstarch
pinch of salt

Blend the eggs, sugar, and vanilla in a blender until light yellow and fluffy.

Add the butter and blend well.

Add the heavy cream and blend well.

Add the quark or clabbered milk, cornstarch, and salt. Blend well.

Pour the filling into a prepared springform pan and bake in 300˚F oven for 50-60 minutes. The filling will rise during baking, sometimes resembling a soufflĂ©. It should be a light golden brown when done. Sometimes mine takes 70-80 minutes to bake.

Turn the oven off and leave the cheesecake in the oven. Let it rest for 15 minutes before removing.

Remove from oven and place the springform pan on a wire rack to cool on the counter for an hour.

Then refrigerate for several hours before releasing sides of the pan and serving.

Sheepy likes step-by-step directions with photos so I've included the step-by-step instructions below.

I line the springform pan with parchment paper. Not a necessary step, but I can easily slip the cheesecake onto a serving plate and trim away the paper.

Place your choice of crust in the bottom of the pan. The rolled crusts will go up the sides of the pan. The photo is a graham cracker crust--very American!

Blend 3 eggs, 3/4 cup granulated sugar, and 2 teaspoons of vanilla until foamy and light yellow.

Weigh out 100 grams of butter. The recipe says 3/4 stick or 100 grams. 100 grams is more than 3/4 stick! The butter should be soft and at room temperature. Don't melt it in the microwave, it changes the butter enough that it doesn't make as good a cheesecake.

This is all that is left after weighing 100 grams. It's about 1 tablespoon.

Add the butter and blend well.

Add 6 ounces of heavy cream. I tried it with half and half and it seems to work okay, too.
Blend well.

Add 1 1/2 tablespoons cornstarch....

a pinch of salt (I have a measuring spoon that is labeled "Pinch")

and 17 ounces of Quark/clabbered milk. Weigh it out, it's not something American cooks are used to doing, but in Europe that is how the measure anything solid.

Blend well!

I put the pan into the oven before I pour the filling in. I tend to spill less that way.

Filling is poured in and it is ready to bake at 300˚F for 50-60 minutes or until light brown on the top.
When the top is light brown, turn the oven off and let the cheesecake rest inside for 15 minutes. Then take it out and let it sit on a wire cooling rack for about an hour.

It tastes good when it's warm, but it tastes great if it ages in the refrigerator for a few hours!

Not a quick recipe! But it is delicious!
*************
Update 10/3
I made it again today, but I added 1 Tablespoon of lemon juice. I liked the flavor it added!
Also, I separated the eggs and added the yolks to the sugar (instead of the whole egg to the sugar), and beat the egg whites until stiff in the mixer. Then after all the other ingredients were blended in the blender, I poured that mixture into the mixer with the whipped egg whites and mixed.

The final result was a little fluffier than adding the eggs all at once in the beginning. The texture, especially the next day, was very creamy and light. The flavor is always better the next day, too.

Thursday, September 2, 2010

Clabbered Milk: Part 5 (another try!)

So, another failure. This time it never separated (5 days) and when I looked inside, there was yellow mold growing on top.

I think my clabbered milk failures might have something to do with the temperature in our kitchen. It fluctuates quite a bit and it usually isn't warm.

I ordered the book, "Nourishing Traditions" by Sally Fallon. I've read about it a few places on the internet and one of my friends recently bought it. The book is supposed to have more instructions on how to make clabbered milk, or raw cream cheese as it's called in the book.

Another Try....

This time I turned the oven light on and left the door closed for an hour. Then I checked the temperature inside the oven. It was 81˚ F. One person I heard from via email or post said that her kitchen is always around 81˚ F or 82˚ F and hers separates quite quickly.

So, I have another 1/2 gallon of raw goat milk (milked on 8/24) sitting in the oven with the light on. I'll see how it turns out this time.

8/29/10 at 10 PM
Here we go again! This time in the oven with the light on so the temperature is a bit warmer and there are no drafts. There probably won't be any temperature variations from day time to night time, either.
Good thing I have so much milk in the fridge right now, it gives me lots of milk to experiment with.

8/30/10 at 8:30 AM, still looks the same, no change.
 And another photo on 8/31/10 at 2:00 PM. Hmmmmm..... still looks the same. Linda said that she likes hers when a thin liquid is between the clabbered milk and the jar.
 I didn't take another photo yet, because it looks just the same as it did earlier this afternoon. It's about 6:00 pm on 8/31/10, same day as the photo above. But I took the rag off the top (yes, that's one of my t-shirt rags!) and it smells..... good!

It smells a bit like yogurt, but not quite. It isn't really thick yet, like I've read so many places. It had a bit of a skin on top so I scooped it off and threw it away so the milk isn't sealed with the skin.

At this point I think that the oven with the light on is probably the best place in my kitchen to make clabbered milk. The temperature remains fairly constant and there is no yeast floating around in the air.

9/1/10 at 7:00 AM
Whoo Hoo!! It looks like it worked!
I opened the oven door and the milk had separated! No bulging on the top, no weird smell! I can hardly believe it!

For my house, where the temperature fluctuates between 68˚- 80˚, clabbering the milk in the oven with the light on is probably the best place.

I put it in the oven on Sunday night and Wednesday morning I have some beautiful clabbered milk!

This is what it looks like after I took the cloth off the top. It looks and smells delicious. This time it looks creamy, not hard, like the last few times.

Like all cheeses (I think) it has to be strained through a cheesecloth. My favorite is the butter muslin from New England Cheesemaking Supply. I love the way it holds up wash after wash and doesn't fall apart. I have to run a lint roller over it before I put the curds in it to get any little stray hairs or fluff of.

Hanging from my cider press by my desk. I can smell it from here. It smells a little sweet and a little sour at the same time. More a yogurt-type sour instead of a lemon-type sour.

On India Curry, one of the sites I found, it said the optimum temperature for making clabbered milk is 90˚F. I also found some interesting information on Wikipedia. People in the Southern United States would eat it for breakfast with brown sugar, cinnamon, or molasses added. Smelling it while I am typing, I think that sounds delicious!

And as I was searching I came across a reference to 'Quark'. Another type of cream cheese that is made by letting milk sit overnight. Put that on my to do list!

One thing that has really surprised me while I have been learning to make cheese is how often we leave the curds at room temperature, or drain at room temperature. If someone had told me last year that I would have been leaving raw milk out for 4 days and then eating the result, I would have told them they were crazy! I can hear my mom and grandma saying, "Put the milk away before it spoils!"

After a little more searching, I found out that letting the milk get to this point is called 'clotted cream'. Here's the Wise Geek link where I found it.

After draining for 3 hours it is creamy and smooth. It looks a bit lumpy in the photo, but a taste in my mouth proves it is rich and buttery. It looks like it made about 1/2 pound of clabbered milk.
Here's what the whey looks like, just in case you are curious. It is a bit thicker than other whey I've gotten from cheese. I'm going to make some bread with it instead of putting it on the flowerbed this time. I'm curious to see how this whey does in bread in comparison to the whey from other cheeses.
One more great website I found is called, "Everything Goat Milk". This link takes you directly to their cheesemaking page.

Now I am scouring the internet to find different recipes using clabbered milk and clotted cream! I imagine I'll have to find some cookbooks from the early 1800's to browse through.

So much milk, so little time in a day!

Tuesday, August 24, 2010

Clabbered Milk: Part 4 (failed again!)

Another batch gone bad. It looks like yeast again.

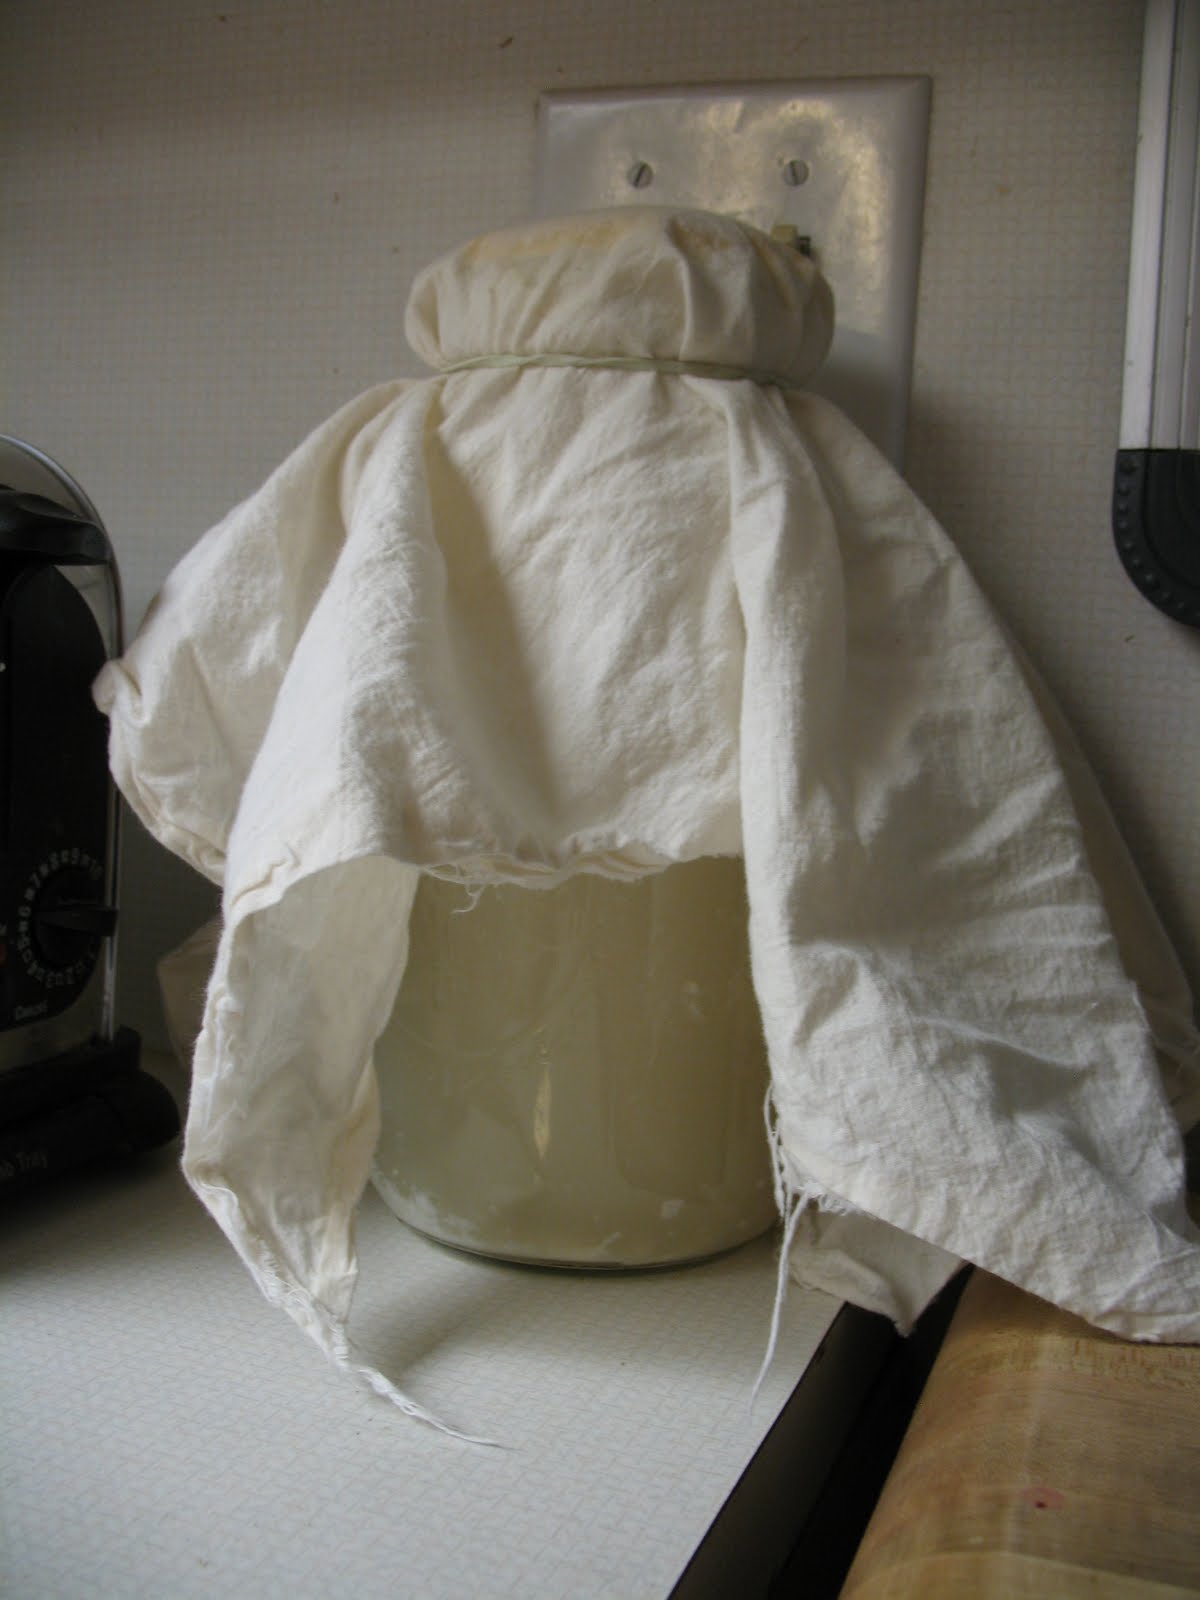
Can you see the cloth on top all poofed up? That's because something is growing out of the top of the bottle.

It separated, and it grew. I think it grew yeast again. This time it grew faster than the last time.
When I checked the bottle the second day the milk seemed to be getting thicker. Today when I checked, it was growing out of the top of the bottle.

I think I'll try keeping it in another part of the kitchen to see if it makes a difference.

I think the nice thing about having 3-4 gallons of milk a day is that I get to try so many things. If something fails I try to figure out what went wrong and try it another way.

Friday, August 20, 2010

Clabbered Milk: Part 3 (and more to come...)

Hmmm... I checked the clabbered milk this morning. I stirred it up a bit and it was foamy under the cream. I think that means it was contaminated by yeast.

It still doesn't smell bad which is not what I expected from leaving raw milk on the counter for almost 5 days!

I dumped it down the drain, just to be on the safe side. I 'started' a new batch with the warm milk that we brought in from the barn this morning.

Hopefully this time it will work.

If it does, I'll look around for a great looking stoneware crock for the milk to clabber in!

Fresh milk, new jar, and a new cloth with a rubber band around the lid.

Tuesday, August 17, 2010

Clabbered Milk: Part 2

I've been doing some more reading about clabbered milk. Some places on the internet say to leave it in a sealed container, but more of the sites I have come across said to leave it in a loosely covered container, preferably the opening should be covered with a cloth.

When I checked the milk on the counter Tuesday morning, there was really no change except that the cream had separated to the top.

So I stirred the cream in a bit, changed the stickers to the side of the container, and covered it with a cloth.

I must say, I am really surprised that there was no nasty smell coming from the milk when I checked it! There was nothing gross about it at all. It still smelled like milk! Surprise!

I've lifted the cloth so you can see all our crazy labels. But I've had the cloth down over the whole container since I put it on. It's been sitting on the counter since 11/15/10 but the milk was milked out on 8/11/10 in the evening. It had been sitting in the fridge until I put it on the counter.

I've emailed a few friends, and they are interested in the clabbered milk, too! If they find any recipes I'll be sure to post them here. I'm really curious about this and what can be done with it.

Tomorrow we are at the 4H goat show, but I wanted to update this little experiment because I don't want to forget what I've done and how long it took when I try to reproduce it (or not) later on. 

And just in case there is anyone else out there who is trying this and following along, too!

Sunday, August 15, 2010

Clabbered Milk

l had a question from someone a few weeks ago. She was told to leave her raw milk on the counter for 3-5 days and it would turn into cream cheese. Leaving raw milk on the counter sounded really gross to me, not to mention that it seemed like the resulting product might be unsafe.

I did some reading and asked some questions. Apparently it is called clabbered milk and used to be made often. It can only be done with raw milk, not pasteurized milk, because the pasteurization kills some of the bacteria that is needed to clabber the milk.

On a side note--that's why Clabber Girl baking powder was originally made. You would add the baking powder to clabbered or loppered milk to produce a leavening reaction.

Here is a link on how to make clabbered milk:
The Nourishing Cook

Someone on the Basic Cheesemaking Yahoo Group said they do this all the time. She freezes the results and it makes a 'killer cheese cake' during the winter.

I've got lots of raw goat milk in the fridge right now. I think I'm going to give this a try.


 Sitting on the counter waiting.... and waiting.... 

Update: I just recieved this link from a friend. It has some great information and recipes for clabbered milk! NH Honey.