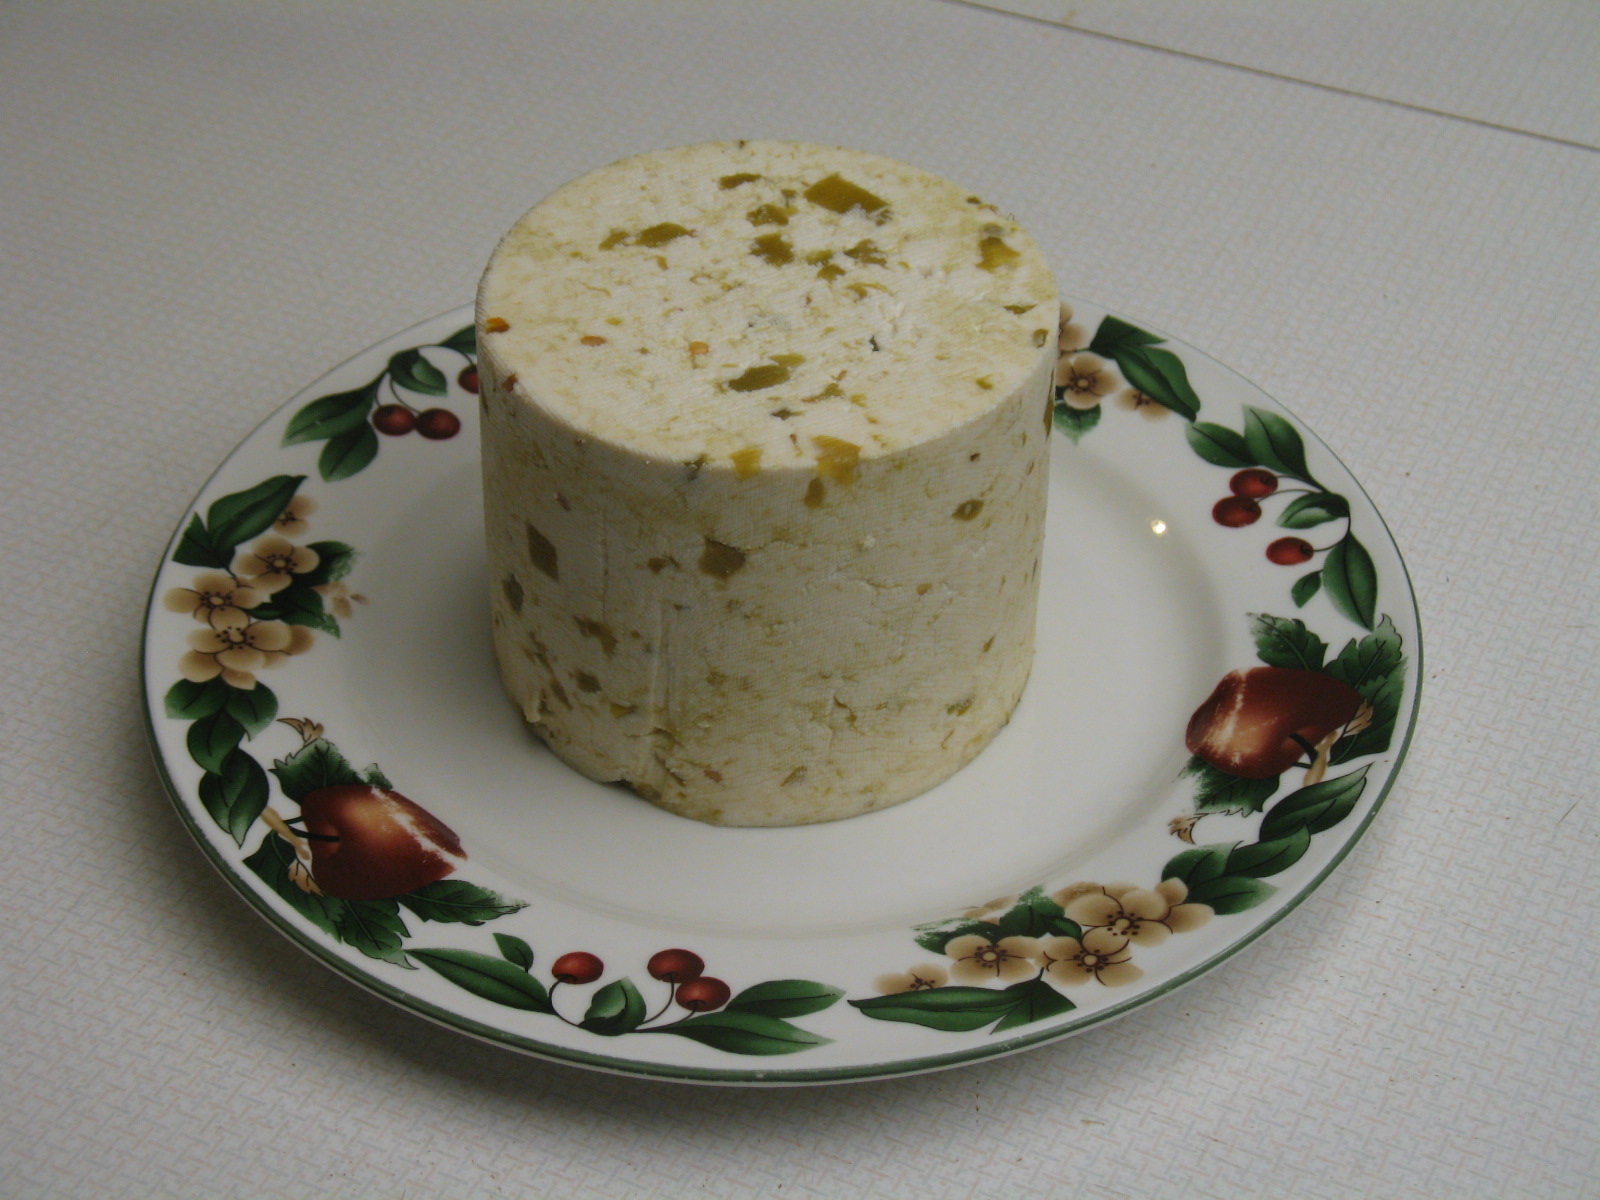
I decided to try making some Queso Fresco because it looked like an easy cheese and I wanted to try out the new press and mold.
It is easy, and delicious!
 |
| 2 gallons of milk ready to go in the pot. I love our new milk bottles! They are much easier to handle than 1/2 gallon canning jars. |
 |
| This is the milk straight out of the milk fridge. If we keep our milk in sealed jars and at a low temperature, the raw goat's milk still tastes fresh on day 10! |
 |
| Heat the milk to 90˚F. No, I didn't pasteurize it. I used raw milk and just heated it up. |
I added 4 cubes of mesophilic starter that I had prepared and frozen from a mother culture. You can also add 1 packet of direct set starter if you don't have prepared starter. I haven't tried it with buttermilk or yogurt, but that might work, too. I'll save that experiment for when we are getting 5 gallons of milk a day.
Mix in the starter well (or stir gently until the frozen starter is melted.) I had to turn the heat on very low after adding the frozen starter to keep the temp around 90˚F.
Next add 1/4 teaspoon of liquid rennet that has been diluted in 1/4 cup of filtered, unchlorinated water. Stir gently with an up and down motion for about 1 minute until the rennet is completely mixed into the milk and starter.
Now go clean a bathroom (or whatever takes 30-45 minutes) until the milk sets up and you get a clean break. I let mine sit for an hour because I got distracted. It was fine!
Cut the curd into 1/4" pieces. I try really hard to get my curd that small, but it isn't a consistent size no matter what I do. I do the best I can and while I am stirring the curd, I break any that look too big into smaller chunks.
 |
| Stir the curd gently for 20 minutes slowly raising the temperature of the curds to 95˚F. This is the hardest part on an electric stove. Use the lowest setting and if there isn't a change in the temperature within 3 minutes, turn the heat up slightly. The reason you heat slowly is to release the whey from the curds, but it has to be slowly or the curd forms a 'rind' on the outside and doesn't let the whey out. |
Turn off the heat and let the curds sit for 5 minutes.
 |
| Drain off the whey. I put the bowl on the floor (and sometimes a towel under the bowl) because it is easier to strain the whey off. I'm not quite tall enough to do this as gracefully in the sink. I use a spatter shield on the front of the pot to hold the curds in and let the whey out. |
The whey doesn't all come out on the first pouring. I have to sit the pot on the floor and stir the curds gently and repeat the pouring/stirring process a few times until the whey is drained. Sometimes I will pour the whey off, then sit a strainer in the top of a pot and gently pour the curds into the strainer. Then I can let the curds sit there for a bit while they drain.
Pour the curds back into the pot if you used a strainer and add about 2 Tablespoons of cheese salt (salt with no iodine). Let the curds and salt sit there at 95˚F for 30 minutes. I put my curds in my oven with the light on. You could also use a Wonderbox, or wrap the pot in towels to keep it warm.
After 30 minutes gently mix in anything you think would be tasty. Our first batch had 2 cans of diced green chilies in it. Our next batch was mixed with basil, garlic, and onion. I think it would have tasted wonderful in some lasagna or crumbled on top of spaghetti--but it didn't last that long.
Next line a mold with cheesecloth and fill it with the curds. This was the first time I used cheese cloth instead of buttermuslin to line the mold. The cheese cloth works much better! It is a lighter weight weave than the buttermuslin and is much easier to handle when putting the cheese into the mold. The follower fits in better, too, because there is less bulk.
 |
| Press at 35 pounds of pressure for 6 hours. I let our second batch go for 10 hours because I wasn't really paying attention when I started the cheese and what time I put it into the mold. It turned out fine. | |
|
| This is the first cheese we made in the new press with the new mold and the new drain. I LOVE them! It makes the process so much nicer than my old game board press! |
 |
| Remove the cheese from the mold and taste it! Yummy! |
 |
| I wrapped some up for a few good friends to try. They all loved it! One said I should add pimentos, too. I told him I would show him how to make the cheese and he could add anything he liked! |
You can store this fresh, pressed cheese in the fridge for up to 2 weeks, at least that is what we read. Ours never lasts that long!