If you are new to canning, visit this link: National Center for Home Food Preservation
They have lots of free resources for canning and preserving at home.
I used the recipe found in this section of their online (downloadable and free!) book called
The two most important things to remember about canning are:
- Use USDA approved recipes. They have done all the testing and know that the recipe is safe to can at home. No one wants botulism!
- Making sure you've processed the food for the correct amount of time at your altitude.
Here's a good analogy:
Many people grew up just fine without car seats. I don't know any parents or grandparents who would drive their toddler around without one now. We know better now, so we do better now.
If you are using Granny's secret family recipe, toss it!
 |
| Let's get started! |
 |
| Here's the recipe I used. It's found in the USDA Complete Guide to Home Canning, section 2, page 26. |
I love this canning book. I own 7 canning books (including the Ball Blue Book) and I come back to this free book time and again. I love that I can make a single quart (or pint in some recipes) to try out the recipe and make any adjustments.
I also love that I don't have to do any altitude math. They've done it all for me. Since I live at 4500 feet above sea level I process my quarts for 35 minutes. (Time, temperature, and correct acid level is what prevents botulism).
Before you start washing and peeling apples, wash 7 wide mouth quart jars and rings. I usually put them in the dishwasher to wash. They stay warm in the dishwasher, which is helpful because you want the jars to be warm when you fill them with the apple pie filling.
Also put 7 new wide mouth lids (they come with new jars, or you can purchase them separately) in a pot with some water. Set the pot on the back burner to simmer while you make the filling. They don't need to boil, but they do need to get hot because the red sealing compound needs to soften.
 |
| Apples. These were free from a neighbor's tree. I take what I can get. A mix of apples is good, too. Tart apples like Granny Smith are best, but I'm all for free! |
 |
| Peel and slice the apples. I have a peeler/corer that I love. It makes the job go much faster. You'll need at least 6 quarts of apples. I usually use 7 quarts of apples because we like more apples in our pies. |
 |
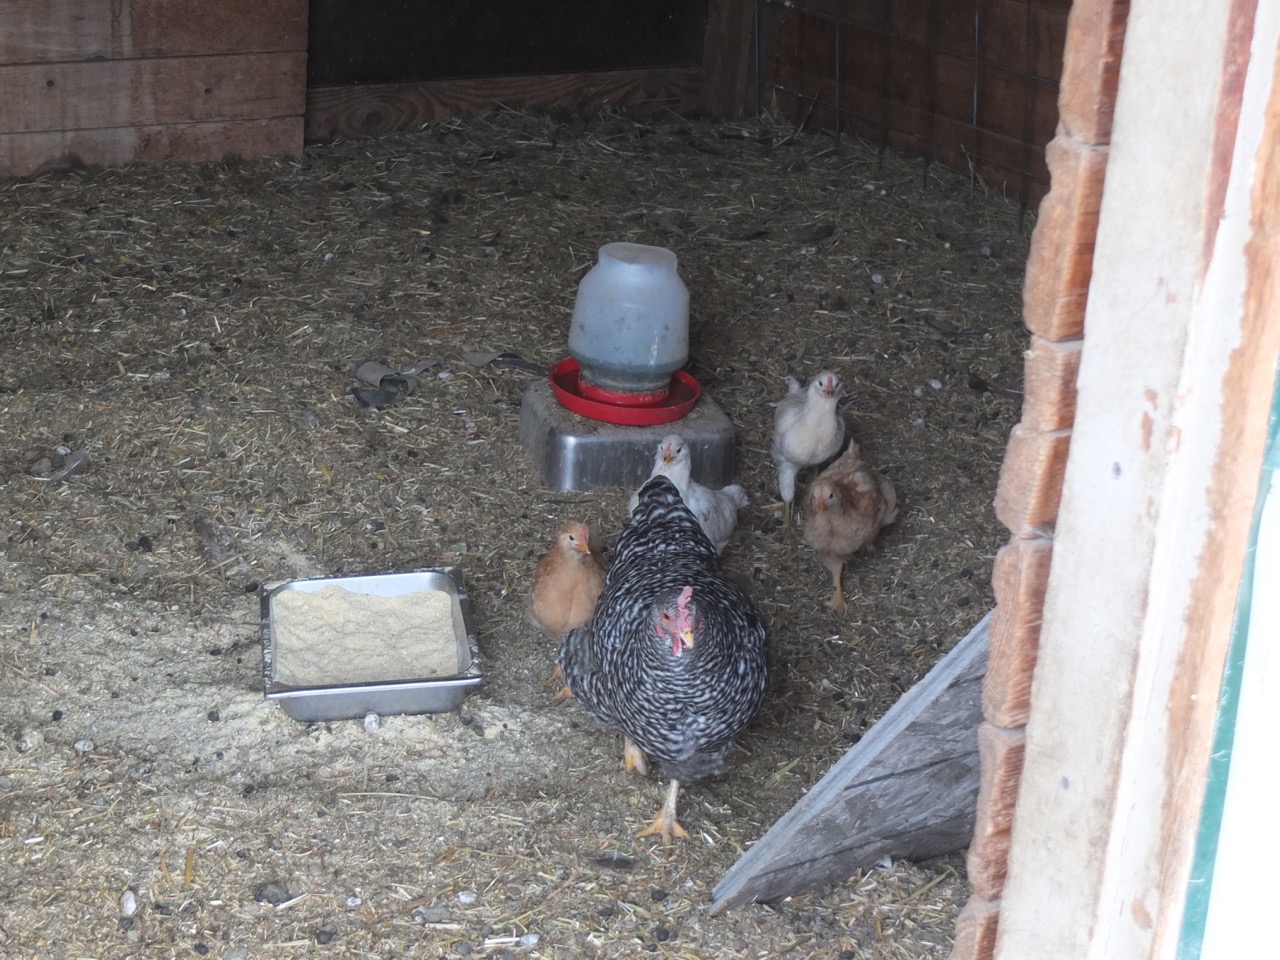
| This is a 2 gallon bucket overflowing with the peels and cores. The chickens, goats, and cows all love the leftovers so nothing goes to waste. If you don't have livestock, dump the leftovers in your compost heap. |
 |
| Boil the apples a few quarts at a time. I use a pasta pot that my Dad gave me years ago. Make sure the water is boiling before you put the apples in. Use at least a gallon of water to boil 6 cups of apples. Why? Because the apples won't cool down the water as much at that ratio. Boil for about 1 minute. |
 |
| The apples won't be fully cooked in 1 minute of boiling, but they will look much prettier, and they will be pre-heated before putting in jars. |
Put the drained apples in a place where they will stay warm. I put them in a big pot with a lid on.
 |
| Combine the sugar, ClearJel (don't use flour!), cinnamon, and nutmeg in a large pot. Stir the dry ingredients together until well mixed. Add the water and apple juice and stir. |
 |
| Heat until it becomes thick and bubbly. It will turn caramel colored and won't be as cloudy looking as when you started mixing. It usually takes 4-6 minutes to get the mixture to thicken. Add the lemon juice and boil for 1 minute. |
 |
| I don't add my apples to the filling mix, I add the mix to my apples. Use a large spoon to mix thoroughly. |
 |
| Take the jars out of the dishwasher and sit them on a towel on the counter. You can put them directly on a counter that isn't cold, but mine is granite, so it's cold! Another benefit of using towels is that you have less counter clean-up to do. The towels go right into the washing machine! |
You'll need a wide-mouth funnel. I like my Bottle Mate canning funnel found at this link. Any funnel that will fit both wide and regular mouth jars, and cover the rim of the jar is helpful.
You'll also need a ladle. My favorite is the Home Canning Scoop found here. It's big, comfortable to hold, and is shaped to get into the corners of pots. I use it for more than canning!
 |
| Okay, fill the jars! Headspace (the space between the top of the jar and the top of the food) is important. Pie filling needs 1" of head space because the food will expand while it's processing. I've got a handy gadget called a Bubble Remover and Headspace Tool (here). You can use a ruler, just make sure you have the proper headspace. |
 |
| This gadget is home-made. It's a chopstick with a magnet glued on the end so that I can use it to take the lids out of the hot water. You can buy a 'real one' in the grocery store in your canning section or online. I've had this for years and it works great, so I haven't bothered to buy one. |
 |
Wipe down the rims of your jars with a moistened paper towel or clean microfiber cloth.
Put a lid and a ring on each jar. Don't screw the rings on tightly. They should be on
enough to keep the lids on, but not come unscrewed in boiling water.
|
Fill a canning pot with water.
If you don't have a canning pot, make sure the water covers your jars by at least 1".
You can buy a small batch canning kit from Ball. I have one and I love it for small batches, or if my batch ended up with an extra jar full that won't fit in the big canner.
 |
| Or you can serve the leftovers to hungry sons. Tastes great with a scoop of ice cream, too! |
 |
| You're water bath should be about the same temperature as the bottles of pie filling. If it's a little warmer, that's okay. Don't shock the jars (and break them) by putting filled jars directly into boiling water. |
Put the lid on and bring the water to a boil. Start your timer AFTER the water starts boiling, not before.
The water doesn't need to be at a full rolling boil for the whole time, but it does need to be boiling, not simmering. If it's boiling hard the jars will knock into each other and have a chance of breaking, and the water will evaporate more quickly.
A nice easy boil is just right!
 |
| When the time is completed, lift the jars out of the water and let them sit above the water for about 5 minutes. If you're doing this in a big soup pot with no rack, lift them out one at a time and sit them on a towel on the counter. |
I use a jar lifter to lift my jars out of the boiling water bath canner. You can see what they look like here. Sorry I didn't get a picture of one.
 |
| Let them cool overnight. |
If you have jars that didn't seal, you can process them again with a new lid within 24 hours of the first processing.
It's normal for a little of the pie filling to leak out of the jars while it's being processed.
After the jars have cooled, take all the rings off and wash the jars, jar rims, and rings.
Most home canners don't store the rings on their jars. It's okay to do, but you need to put clean rings on clean jars or you'll have bacteria and botulism growing in the food that didn't get cleaned off.
 |
| I make simple labels for my canned goods that include the what I canned, the recipe I used, and the date that the batch was canned. |
You don't need a lot of fancy equipment to can. It's helpful, and it makes canning go more smoothly, but you can bottle food in smaller jars in your soup pot to decide if you like canned food, and if you like processing and storing on your own.
Remember to follow the recipe, especially using lemon juice when needed, and processing for the correct amount of time.
It's okay to reduce the amount of sugar in this recipe, but it will change the flavor, texture, and appearance of the final product.
Happy Canning!