I generally like bigger quilts. If a quilt doesn't turn out queen-sized, then I add blocks or change the setting so I end up with a big quilt. It seems to me after all that work I should have something I can use, not hang on the wall!
The following blocks are the blocks I added to my quilt. The next step is to sew everything together and take it to the quilter to quilt. As much as I like a hand quilted quilt, they have to be treated so carefully that I don't finish my quilts like that. If they are machine quilted I can wash them in my front loading washing machine, and we can use them on the beds!
I went through the patterns from a few years ago when we also made 6" blocks and chose some that I thought would fit in an Oregon Trail quilt. I also found a few blocks on the internet to add.
All these blocks look like lots of work, just remember that it took me a year to sew all the blocks in my Oregon Trail quilt. I still haven't put all the blocks together. It just took me a long time to get all the photos and then post everything. Most months I only made the four blocks required for the class. There were a few months when I made a second set of four blocks so that my quilt would be bigger.
 |
| Tumbling Leaves. This is a directional block, it looks a little different depending on how you set them into the quilt. |
 |
| You should be able to click on the image above and then right-click and save as to your computer. |
 |
| Monkey Wrench. |
 |
| You should be able to click on the image above and then right-click and save as to your computer. |
 |
| Sawtooth Star |
 |
| You should be able to click on the image above and then right-click and save as to your computer. |
 |
| Joshua's Ladder, another directional block. I haven't decided how I am going to put this one together yet, but it will probably be this way. |
 |
| You should be able to click on the image above and then right-click and save as to your computer. |
 |
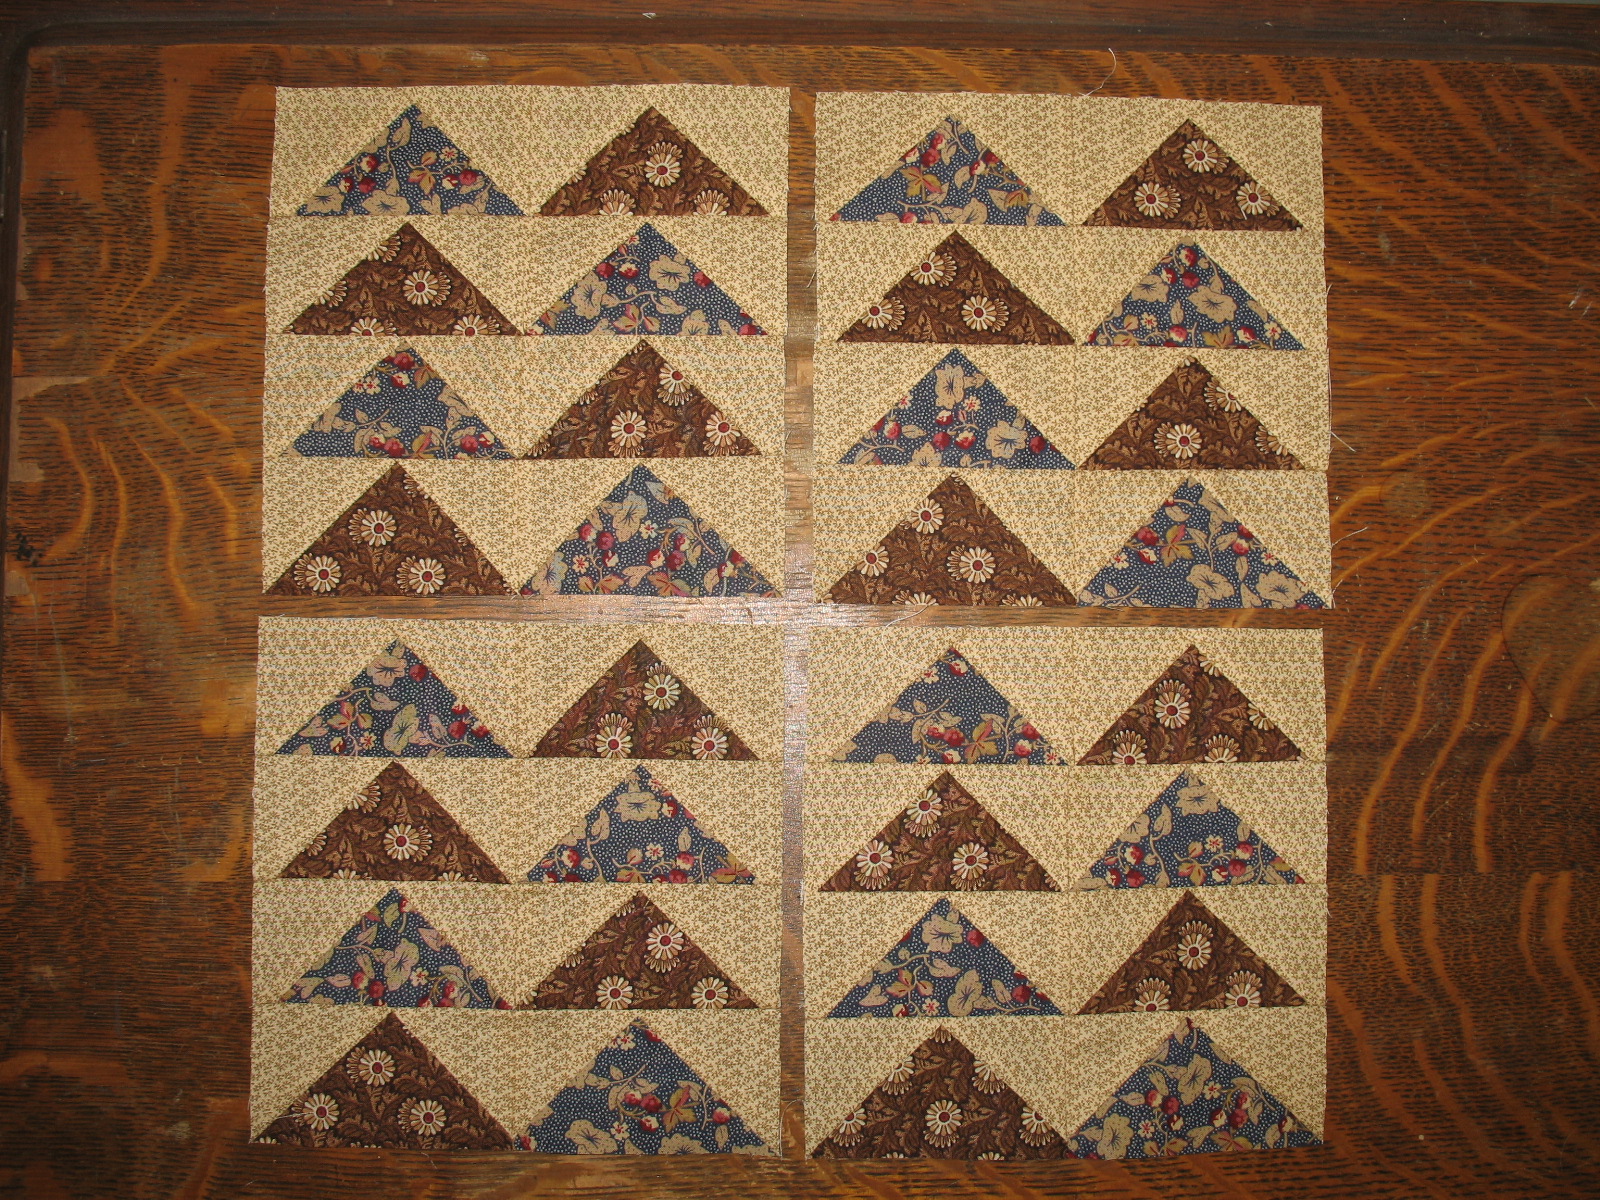
| Flying Geese |
 |
| You should be able to click on the image above and then right-click and save as to your computer. |
 |
| North Wind, another directional block, sort of. I can't really imagine it being put together any other way. |
 |
| You should be able to click on the image above and then right-click and save as to your computer. |
North Wind is another block that I paper pieced. Here is the pattern I drafted. The directions above show a much easier way to make the block, but I really wanted to have the corner triangles solid, and the only way to do that accurately is to paper piece the pattern.
 |
| You should be able to click on the image above and then right-click and save as to your computer. |
I rough cut the pieces for North Wind before I paper pieced it. It makes for a much more accurate and faster block than the cut-as-you-go method that I've used before.
That's all the blocks, except for the filler blocks that will go between the pattern blocks. As soon as I get my other projects to a point where I can sit and sew, I'll sew up the top and post a photo of that, too.


